Kanom is often a word used to prepend names of mainly sweet snacks in Thai language, hence we have kanom chan, kanom krok (the coconut half-globe pancakes that every tourist seems to discover), and many more. This isn't a hard and fast rule, however. For instance one exception is the noodle dish kanom jeen, which is a savoury affair. And there are plenty of Thai desserts without the kanom moniker, such as tub tim grop and lot chong, to name a couple.
There are a few loose styles of Thai kanom preparation: boiling (either in water or in sugar syrup), steaming, frying (either by deep frying or on a griddle), baking, and stirring. My non-traditional method for making kanom baa bin utilises the latter two methods, with a preference for the oven method. Often, however, you can see these sweets griddle fried on the streets of Thailand – this makes sense as many kanom are street food snacks, and I've yet to see a vendor with an oven on wheels.
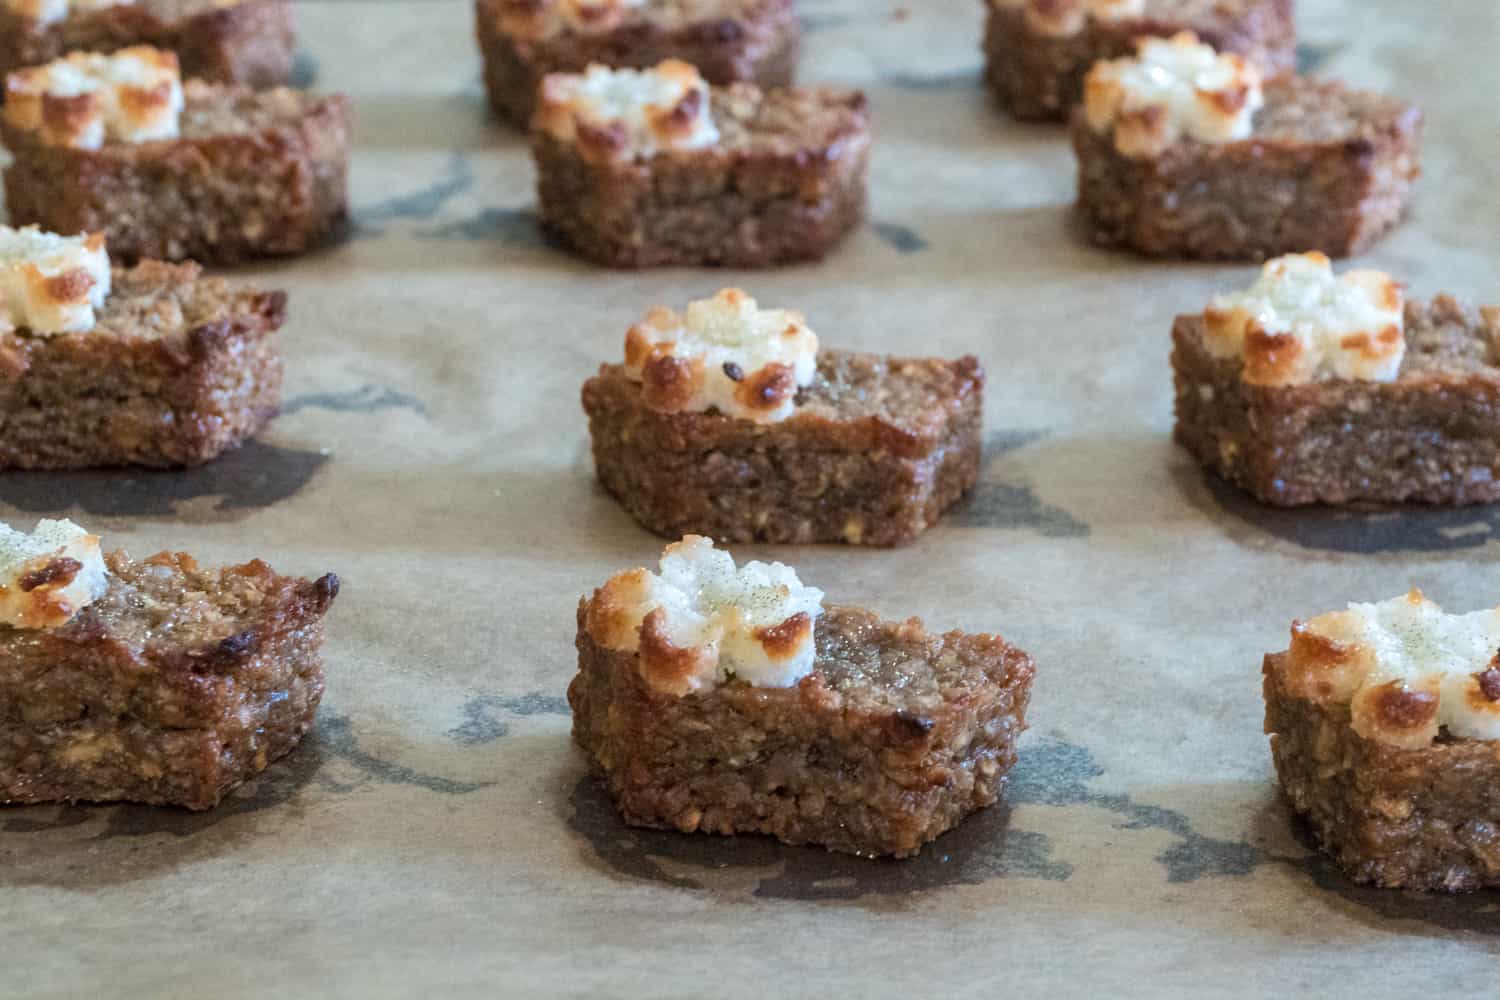
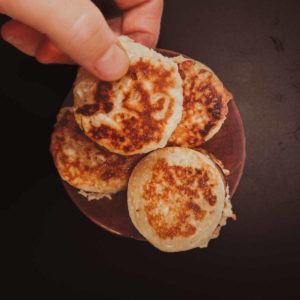
Theoretically you can bake the mix as is, skipping the stovetop step altogether, but in order to shape the cakes my recipe and method makes more sense. What you end up with is a cake with a crispy top and edges (much like brownies, the corner piece is best) that has a moist and not overly sweet interior.
Thai Caramelised Coconut Cake (Kanom Baa Bin)
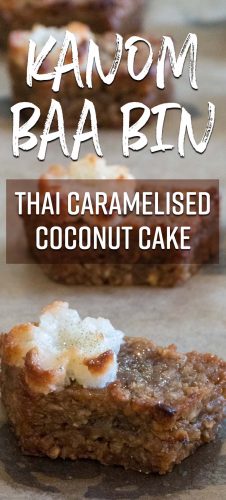
This method for kanom baa bin is made from stirring coconut, sugar, and glutinous rice flour over a low heat until it's thick and sticky. Then the caramelised coconut is baked to achieve a crispy outer texture. In this variation I've added an additional layer of sugary white coconut. You can shape these how you'd like (such as in my photos) or bake it in a tray (as described in the instructions below). The recipes can easily be doubled or even tripled.
- 2 teaspoons coconut oil
- 100 grams finely shredded fresh coconut
- 60 grams brown sugar
- 30 grams glutinous rice flour
- 1 teaspoon vanilla
- ⅛ teaspoon salt
- 1 teaspoon coconut oil
- 50 grams finely shredded fresh coconut
- 30 grams white sugar
- 15 grams glutinous rice flour
- Pinch of salt
- Preheat the oven to 180 degrees Celsius (400 Fahrenheit) and then begin by making the bottom caramelised coconut layer. Heat a small saucepan to medium-low and add the coconut oil. When the oil has melted, add the shredded fresh coconut, brown sugar, glutinous rice flour, vanilla, and salt.
- Stir all of the ingredients to combine, and continue stirring frequently for around 15 minutes, until the mixture thickens considerably. Tip it into a small ovenproof tray (I use a 4x4 inch tray – if you don't have one this small you can use half of a larger tray as the mix won't ooze apart) and press to the corners with a spatula or your hands.
- To make the top layer, melt the coconut oil again and add the remaining ingredients. Stir for 10-15 minutes on medium-low heat until thickened. Cover the caramelised layer with the white coconut layer.
- Bake at 180 degrees celsius for 15 minutes. When finished, allow the cake to cool before removing from the tray and cutting.
- Author: Kip Dorrell
- Makes: 8-12 pieces
- Cuisine: Thai



Celine Steen says
I'm so not awake I tried posting a comment before writing a comment. More coffee, please. But anyway, I wanted to say these (and all of your recipes) look perfect and I will be making them very soon.
Kip says
haha if you look at my Twitter stream you would probably find that every ten or so tweets there's just jibberish due to the fact that I can't internet before coffee. Thank you so much for your kind words! It means a lot coming from you, who I am always selling as one of the best vegan recipe developers publishing today.
Ellen Taylor says
Hey Kip,
Looks this is interesting as I found coconut oil as an ingredient. Personally, I hate the coconut oil flavor, Can I try with another oil?
Kip says
Hey Ellen,
Sure, I don't see why it wouldn't work!
SujanaYoga says
Amazing! Thanks for sharing the recipe.
Margot says
How tasty does this look! I need to try this recipe out as soon as possible! Thanks for the share, love checking out your blog for recipe ideas.
Catering Yorkshire says
Looks amazing. I will be giving these a try this week I think! Reminds me of my traveling.
Jess @ Living on Leaves says
Ooh this looks amazing! Love how different all your recipes are 🙂
Kip says
aww thank you!
I reserve the right to improve malicious and trollish comments.